
背景
在上一篇中说到布局问题,根据大佬们推荐是直接纯代码布局,swift的布局工具SnapKit,这一篇我们接入这个库
原文:http://blog.debuglive.cn/archives/blogiossnapkit
CocoaPods导入第三方库
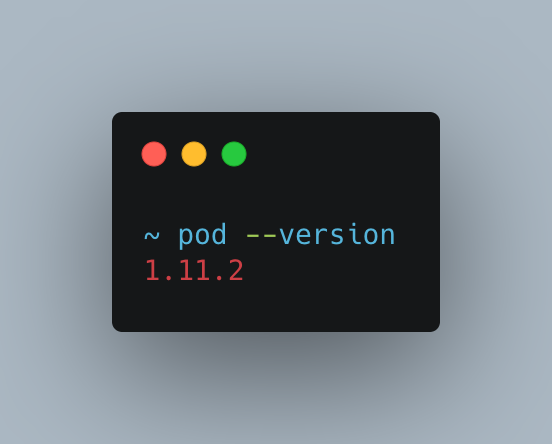
前提:已经安装好管理工具CocoaPods
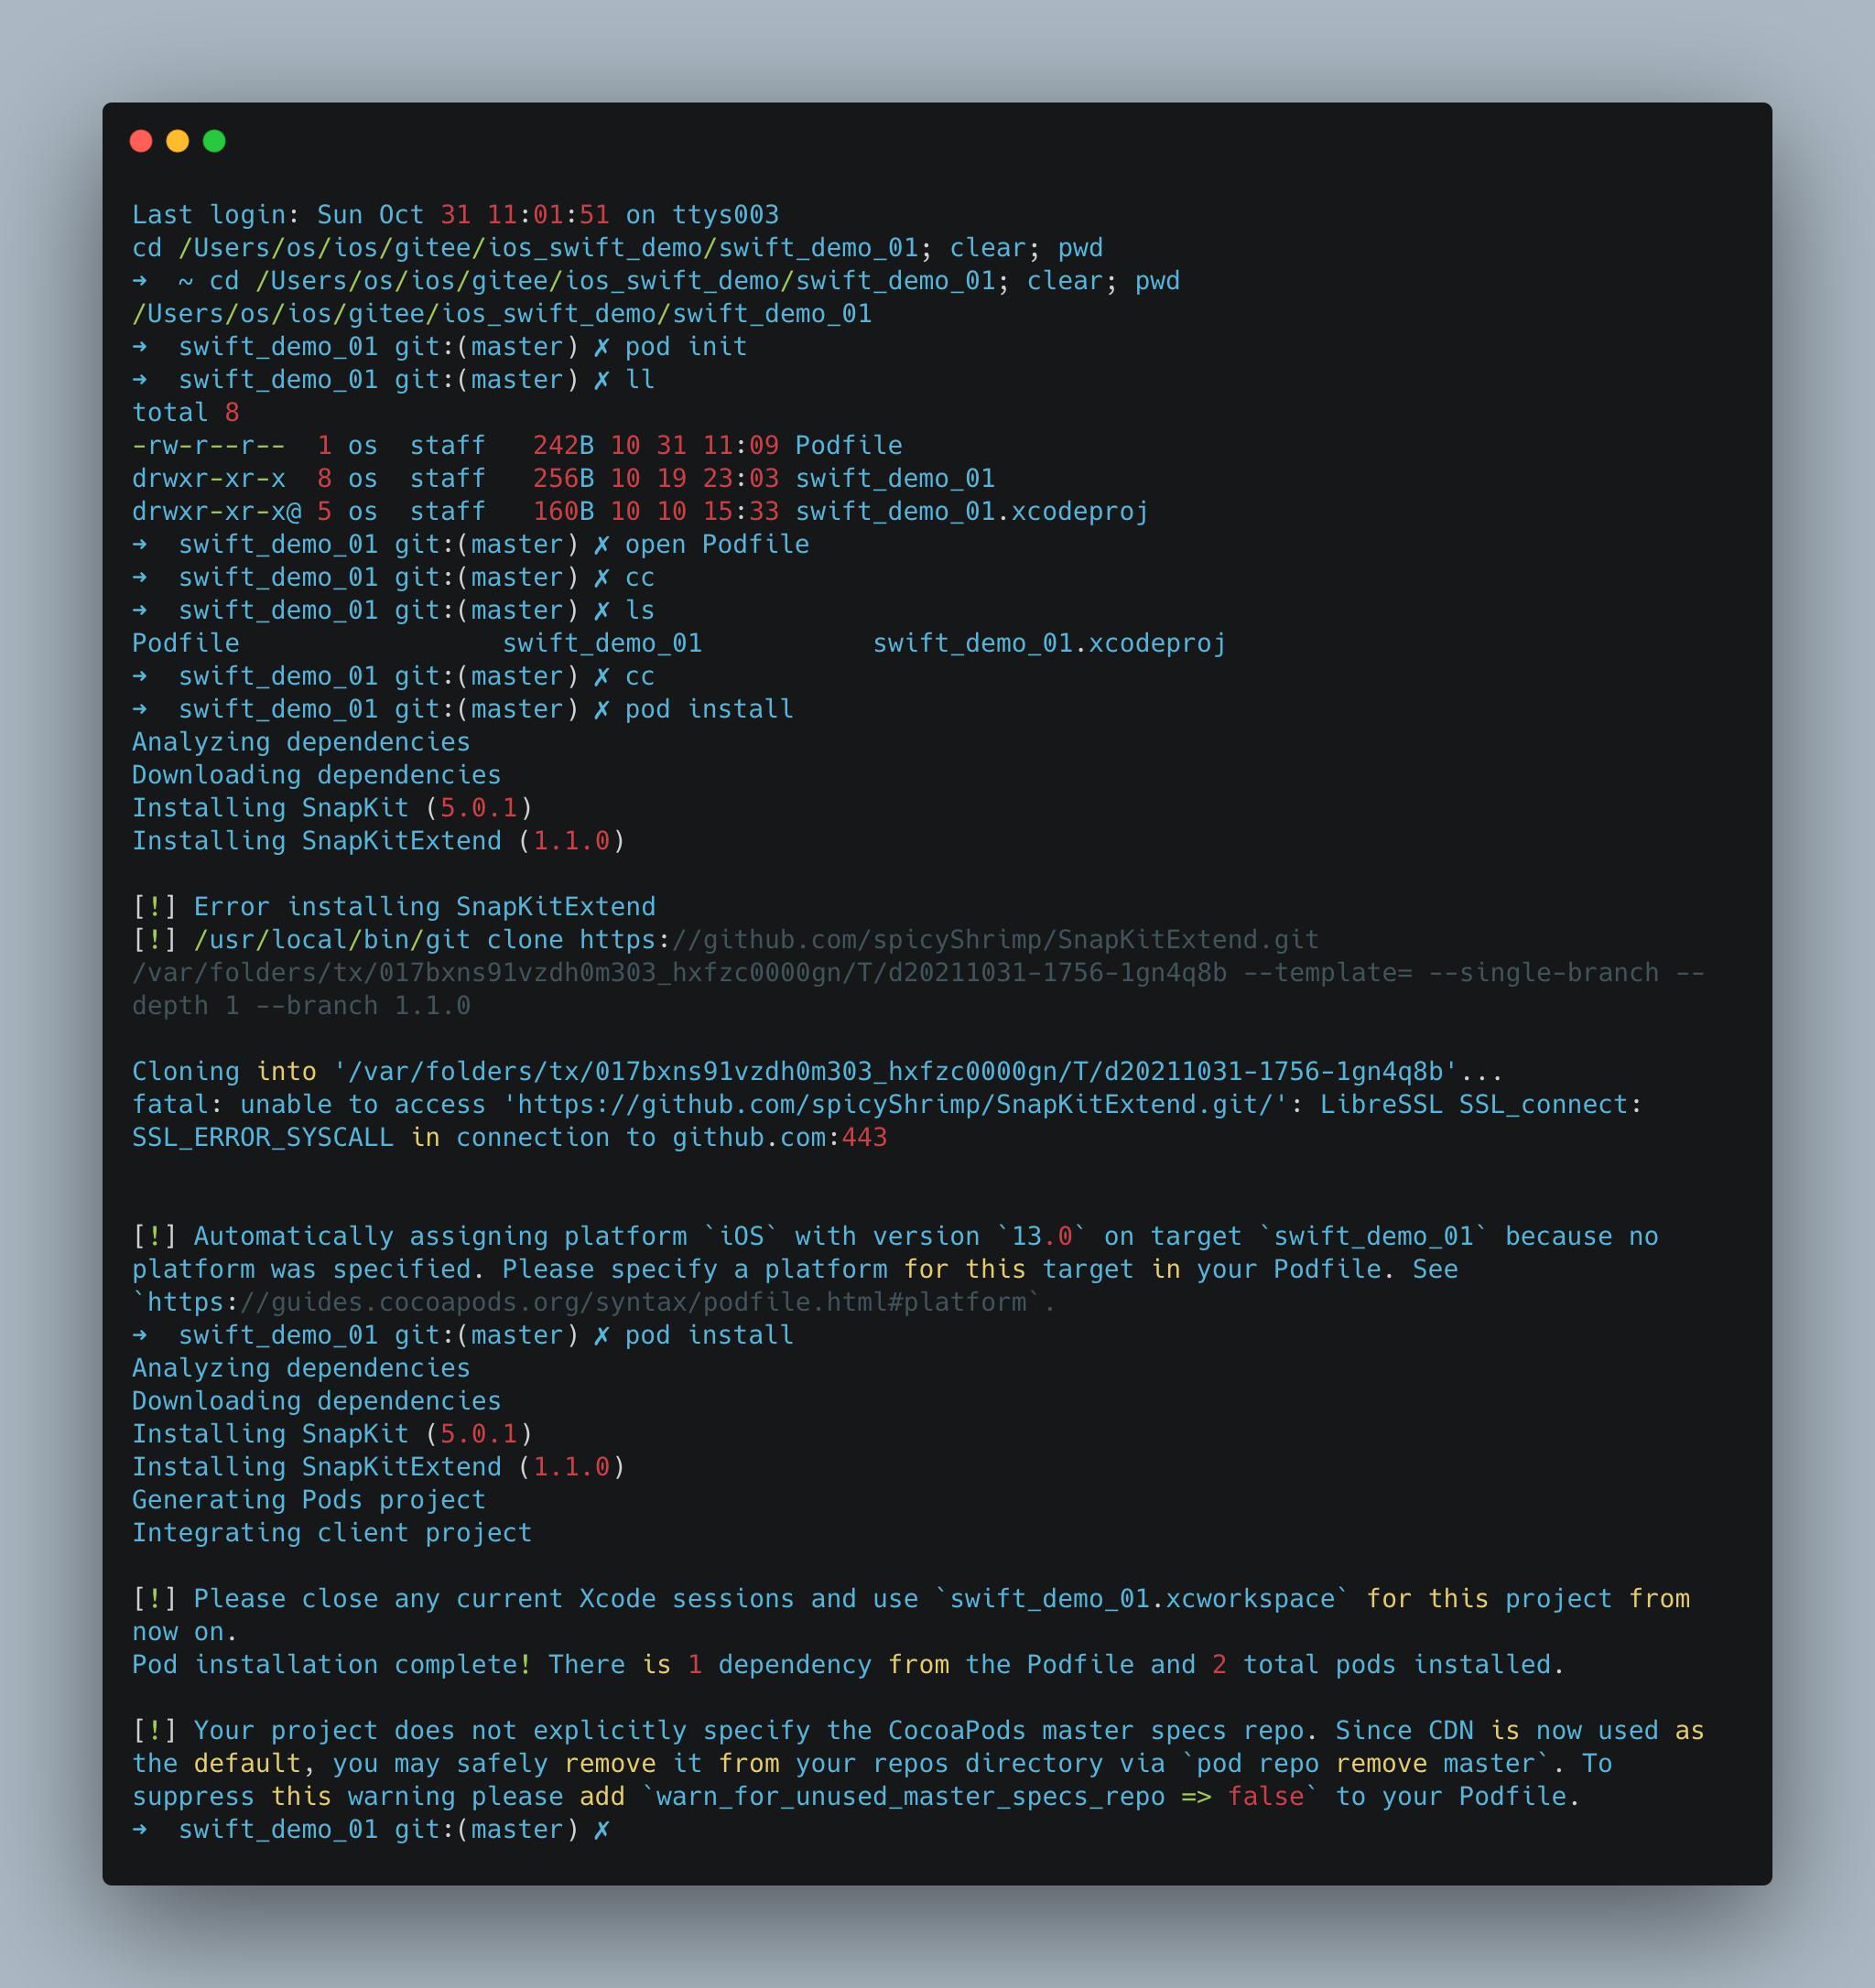
然后进入项目的根目录中执行pod init,创建依赖管理文件
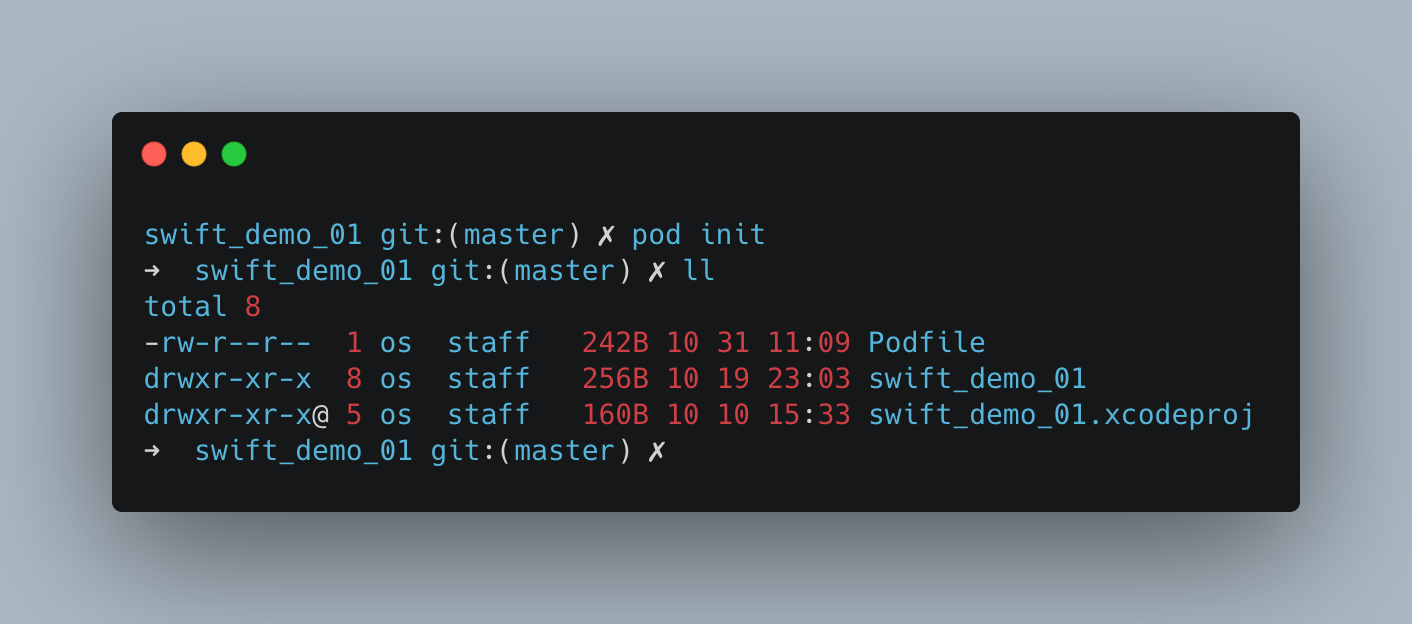
执行完成后可以看到增加一个PodFile文件,我们看看里面的内容先。
# Uncomment the next line to define a global platform for your project
# platform :ios, '9.0'

target 'swift_demo_01' do
  # Comment the next line if you don't want to use dynamic frameworks
  use_frameworks!

  # Pods for swift_demo_01

end
这个有最低版本9.0,是注释掉的,我们需要打开,并且设置一个版本,还有项目名字swift_demo_01,接下里我们增加需要的第三方库SnapKit和扩展SnapKitExtend
# Uncomment the next line to define a global platform for your project
# platform :ios, '9.0' 这个地方需要把注释去掉,且指定一个平台

target 'swift_demo_01' do
  # Comment the next line if you don't want to use dynamic frameworks
  use_frameworks!

  # Pods for swift_demo_01
  # 版本库名称,和版本号,有点像gradle
  pod 'SnapKitExtend', '~> 1.1.0'


end
保存后继续在PodFile所在的目录开始下载我们的库,或者说是更新。类似于gradle sync
这个过程可能很慢,因为下载的库很可能在GitHub中,这个访问慢的问题,自己解决。这个推荐一个解决方法:手机用流量打开热点,你的电脑连接手机热点,这样会快很多。
如果遇到这个问题
[!] Automatically assigning platform
iOSwith version13.0on targetswift_demo_01because no platform was specified. Please specify a platform for this target in your Podfile. Seehttps://guides.cocoapods.org/syntax/podfile.html#platform.
那就需要在PodFile中指定最低平台比如:platform :ios, '13.0'
整个过程就是这样了。
这个时候需要关闭xcode。
重新打开xcode,
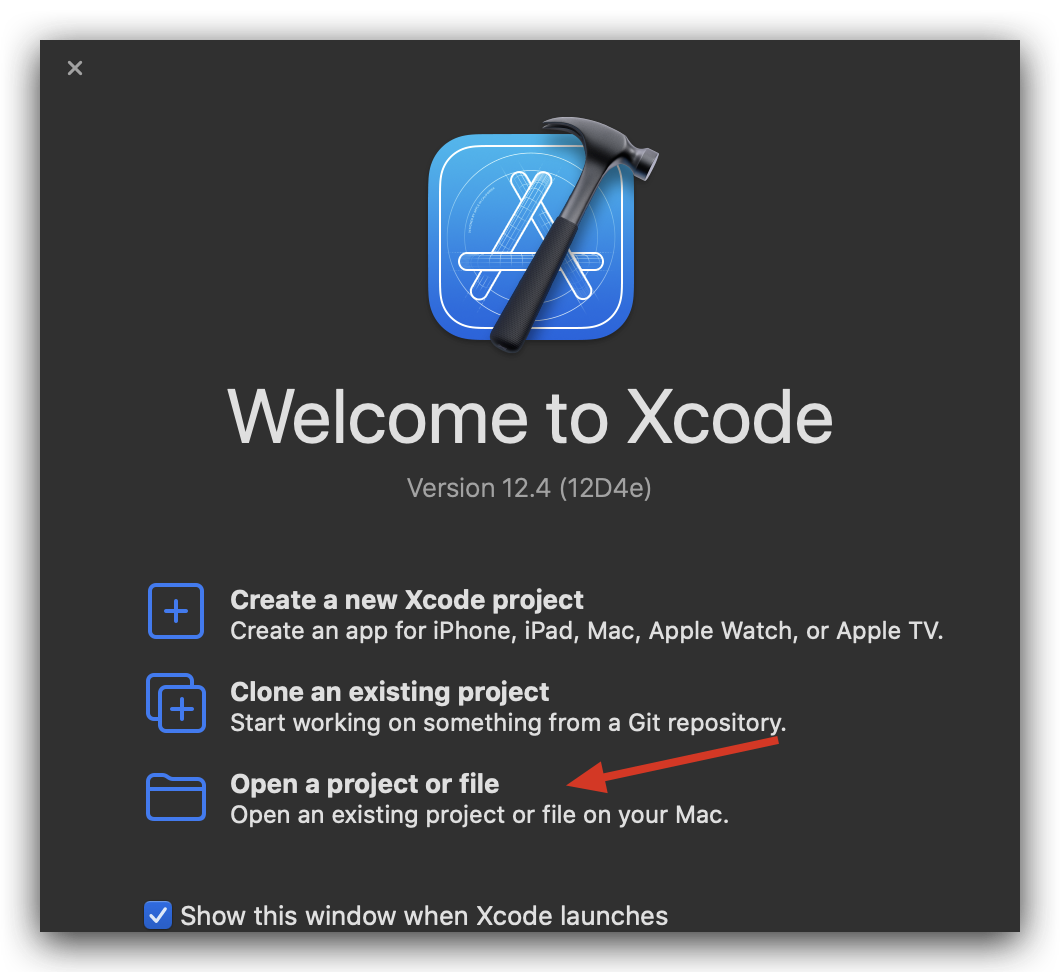
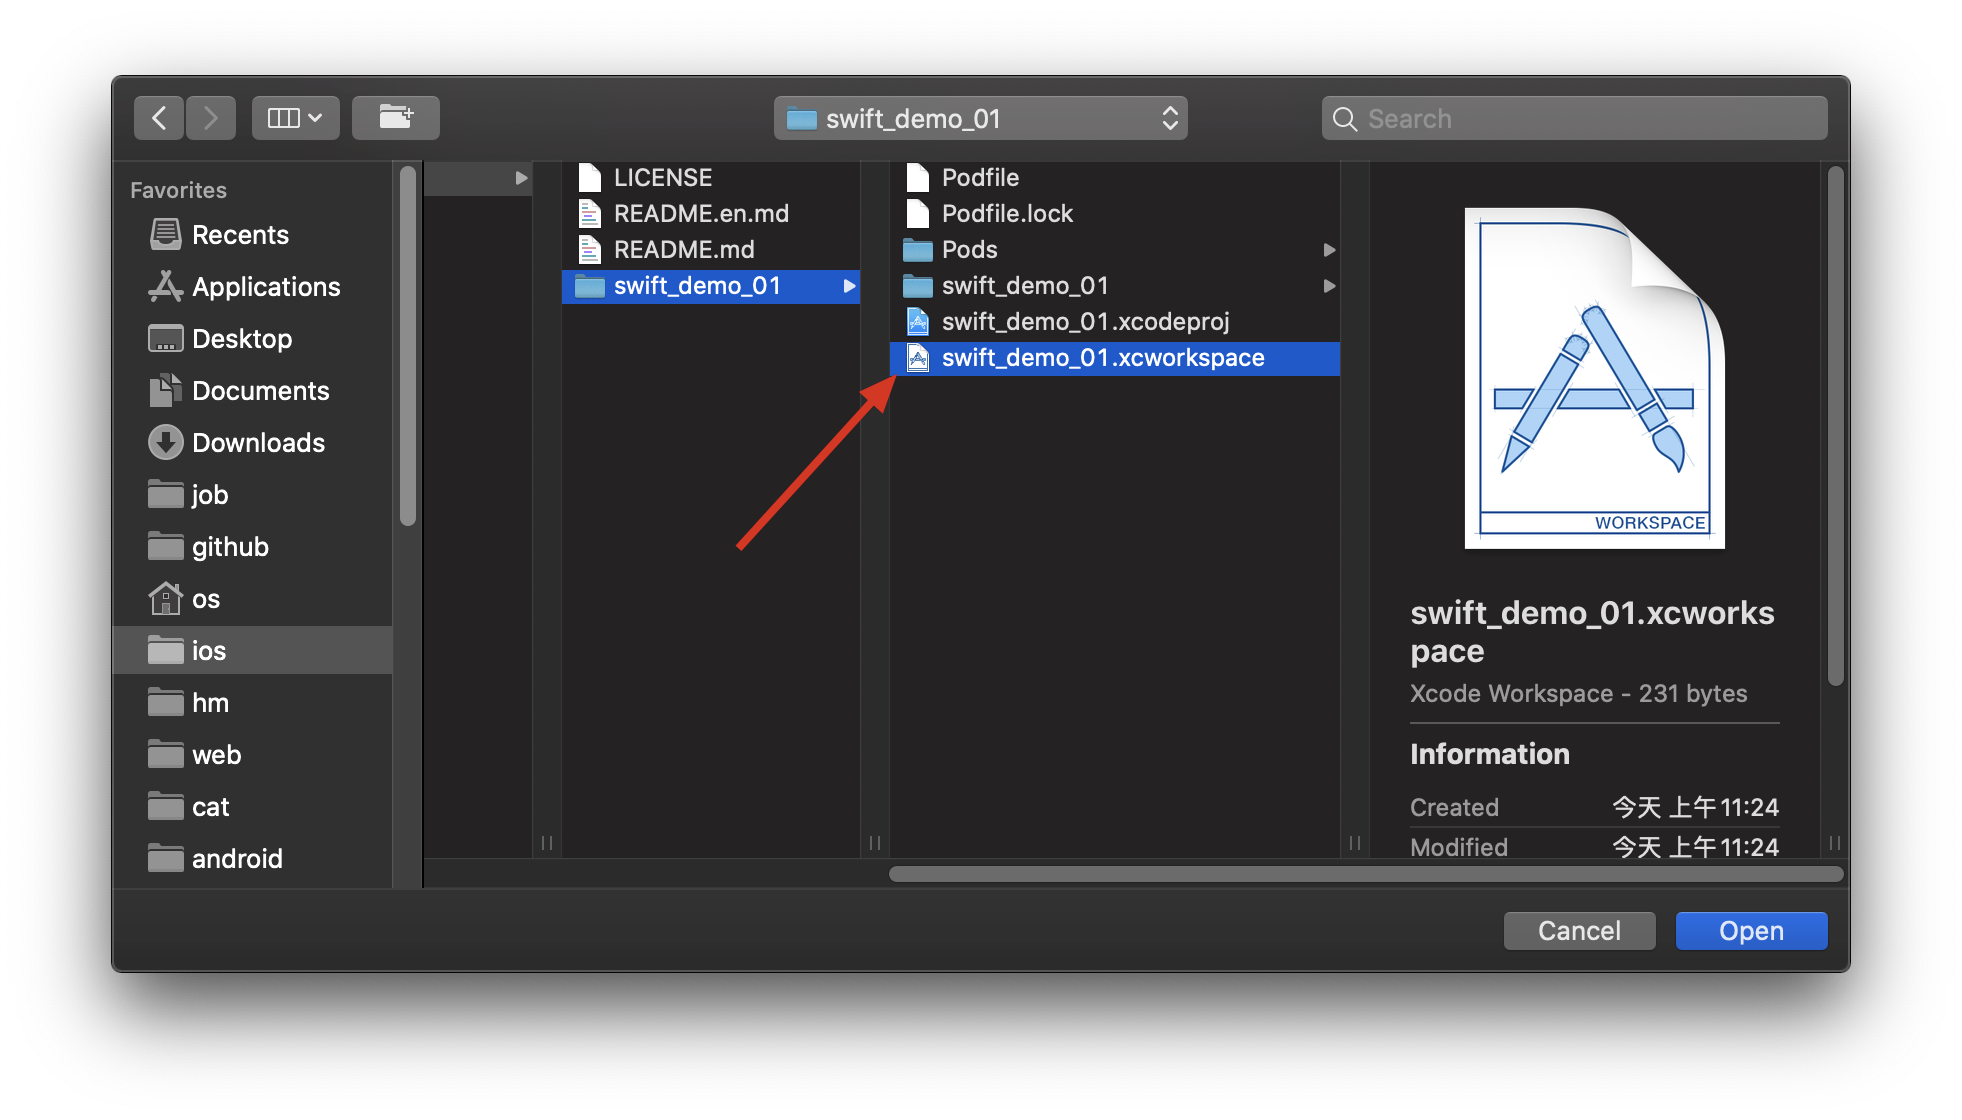
后面都是需要选择这个文件进行打开项目。打开之后直接运行一次,看看编译会不会出问题。 基本上都不会出什么问题。剩下的就是看如何使用了。
简单使用
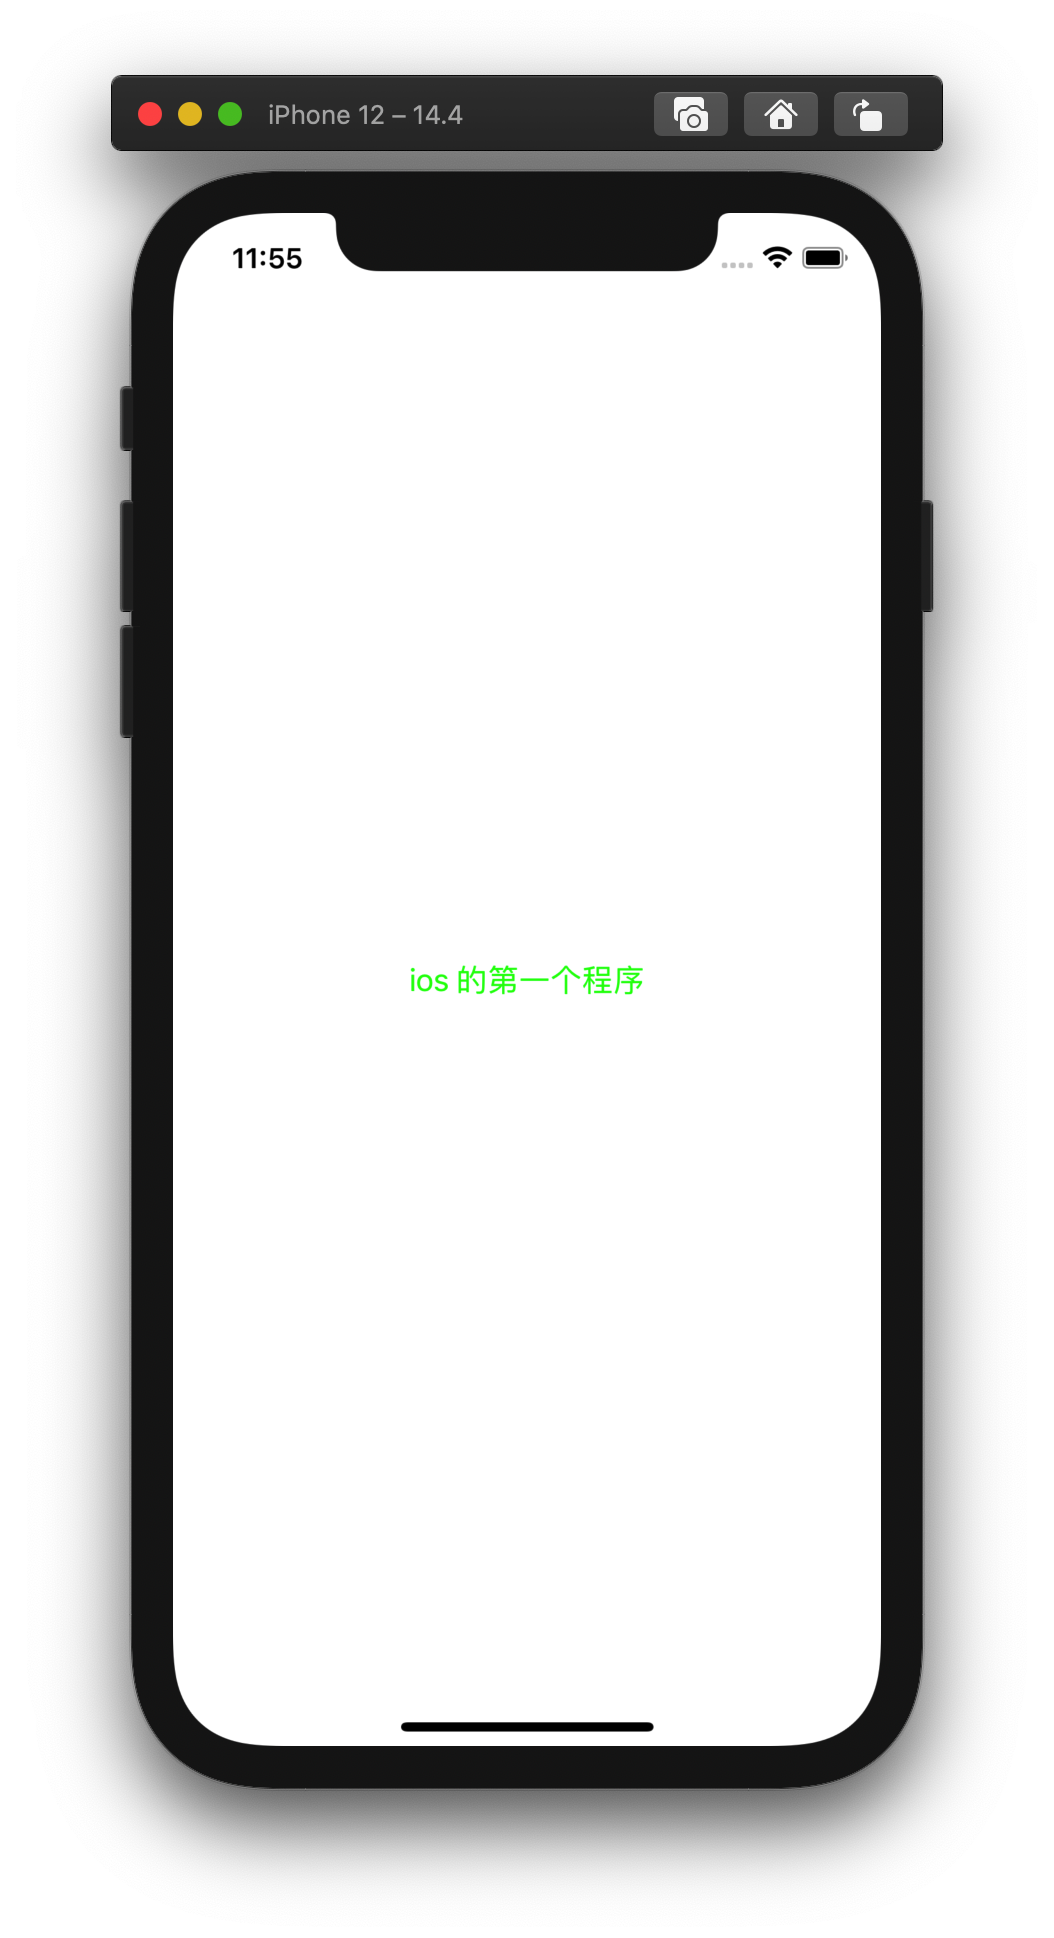
上次我们在屏幕中增加了一个hello文本视图,我们使用SnapKit控制这个文本试试。

总结
1:引入第三方库大概就是这样玩的了。 这里的难点是下载GitHub的库失败率很高很高,苹果就很恶心,还没推出类使用maven中心,或者jetpack,或者jcenter这种大型的无访问障碍的代码仓库。还有一种包管理叫SPM(swift package manager)也在推行中,后面遇到有第三方库是SPM的再使用吧。
2:后面用SnapKit练手下领券联盟的特惠商品的ui。现在领券联盟的后台已经部署好了。访问地址http://shop.debuglive.cn。后面会详细介绍api接口。
代码地址:https://gitee.com/dong_rong/ios_swift_demo.git

 断点-含光君 回复 @南城阿宇