Spring Cloud之Eureka的简单学习
什么是Eureka?
Eureka是由Netflix公司推出的服务注册和发现工具。现已被Spring Cloud集成,提供了开箱即用的支持。(直接在项目中直接集成,快捷使用)
Eureka中分为两个角色:Eureka Server(Eureka服务)和Eureka Client(Eureka客户端)。
无论是服务端还是客户端其本质都是一个Java项目,在Spring Cloud中主要通过启动类上添加
@EnableEurekaServer和@EnableEurekaClient(可以省略)来区分当前应用程序是服务端还是客户端。
项目简单搭建
项目的大体结构图就是这样, 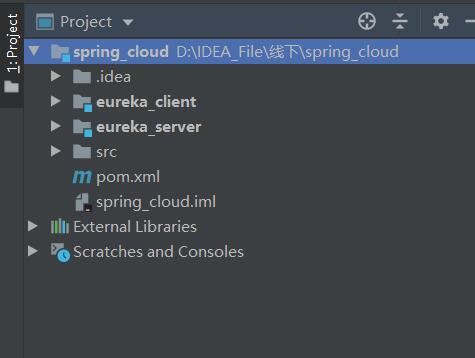
先导入父项目的依赖
    <dependencyManagement>
        <dependencies>
            <dependency>
                <groupId>org.springframework.boot</groupId>
                <artifactId>spring-boot-dependencies</artifactId>
                <version>2.3.2.RELEASE</version>
                <type>pom</type>
                <scope>import</scope>
            </dependency>
            <dependency>
                <groupId>org.springframework.cloud</groupId>
                <artifactId>spring-cloud-dependencies</artifactId>
                <version>Hoxton.SR8</version>
                <type>pom</type>
                <scope>import</scope>
            </dependency>
        </dependencies>
    </dependencyManagement>
服务端
然后再创建一个服务端的子项目,导入依赖
    <dependencies>
        <dependency>
            <groupId>org.springframework.cloud</groupId>
            <artifactId>spring-cloud-starter-netflix-eureka-server</artifactId>
        </dependency>
        <dependency>
            <groupId>org.springframework.boot</groupId>
            <artifactId>spring-boot-starter-actuator</artifactId>
        </dependency>
    </dependencies>
创建服务端的启动类
/**
 * @EnableEurekaServer 通知SpringBoot和spring cloud 准备eureka服务器环境
 *
 * 包括了
 * 1.启动Tomcat
 * 2.初始化Eureka Server环境
 * 3.发布Eureka Server服务(包含基于WEB的视图管理平台)
 */
@EnableEurekaServer
@SpringBootApplication
public class EurekaServerApplication {
    public static void main(String[] args) {
        SpringApplication.run(EurekaServerApplication.class, args);
    }
}
创建application.yml文件,具体配置的解释都有注释
# Eureka Server提供的服务注册和发现的端口 默认是8761
# 如果tomcat的端口和服务器的端口不一致,当前应用同时占用两个端口
server:
  port: 8761 #tomcat默认端口仍是8080

# Spring Cloud Netflix Eureka Server 对微服务集群的管理基于应用名称
# 同名的微服务自动形成一个服务集群,默认值是null或''
spring:
  application:
    name: eureka-server #给当前的spring应用起名

# 配置Eureka的相关信息
# Server也会被当做Client
# 搭建单机版Eureka Server的时候不能让这个微服务在本身上注册和发现,
# 不然会形成一个死循环
eureka:
  client:
    register-with-eureka: false #是否注册到其他Eureka Server上 默认 true
    fetch-registry: false # 是否从Eureka Server上发现其他服务 默认true
    # 在Eureka Server上配置,是提供服务注册和发现的端口配置
    # 在Eureka Client上配置,是要访问注册中心的的注册和发现的地址配置
    #service-url:
      #defaultZone: http://localhost:8080/eureka/ #配置服务发现和注册的地址
  # server:
    # enable-self-preservation: false # 是否开启保护机制,默认true开启
    # eviction-interval-timer-in-ms: 10000 # 删除无效服务信息间隔周期 单位毫秒 默认60秒
然后启动EurekaServerApplication 类,访问http://localhost:8761/,就可以看到Eureka的简单客户端界面,那段红色的英文就是代表开启这自动保护机制(后面会解释)。 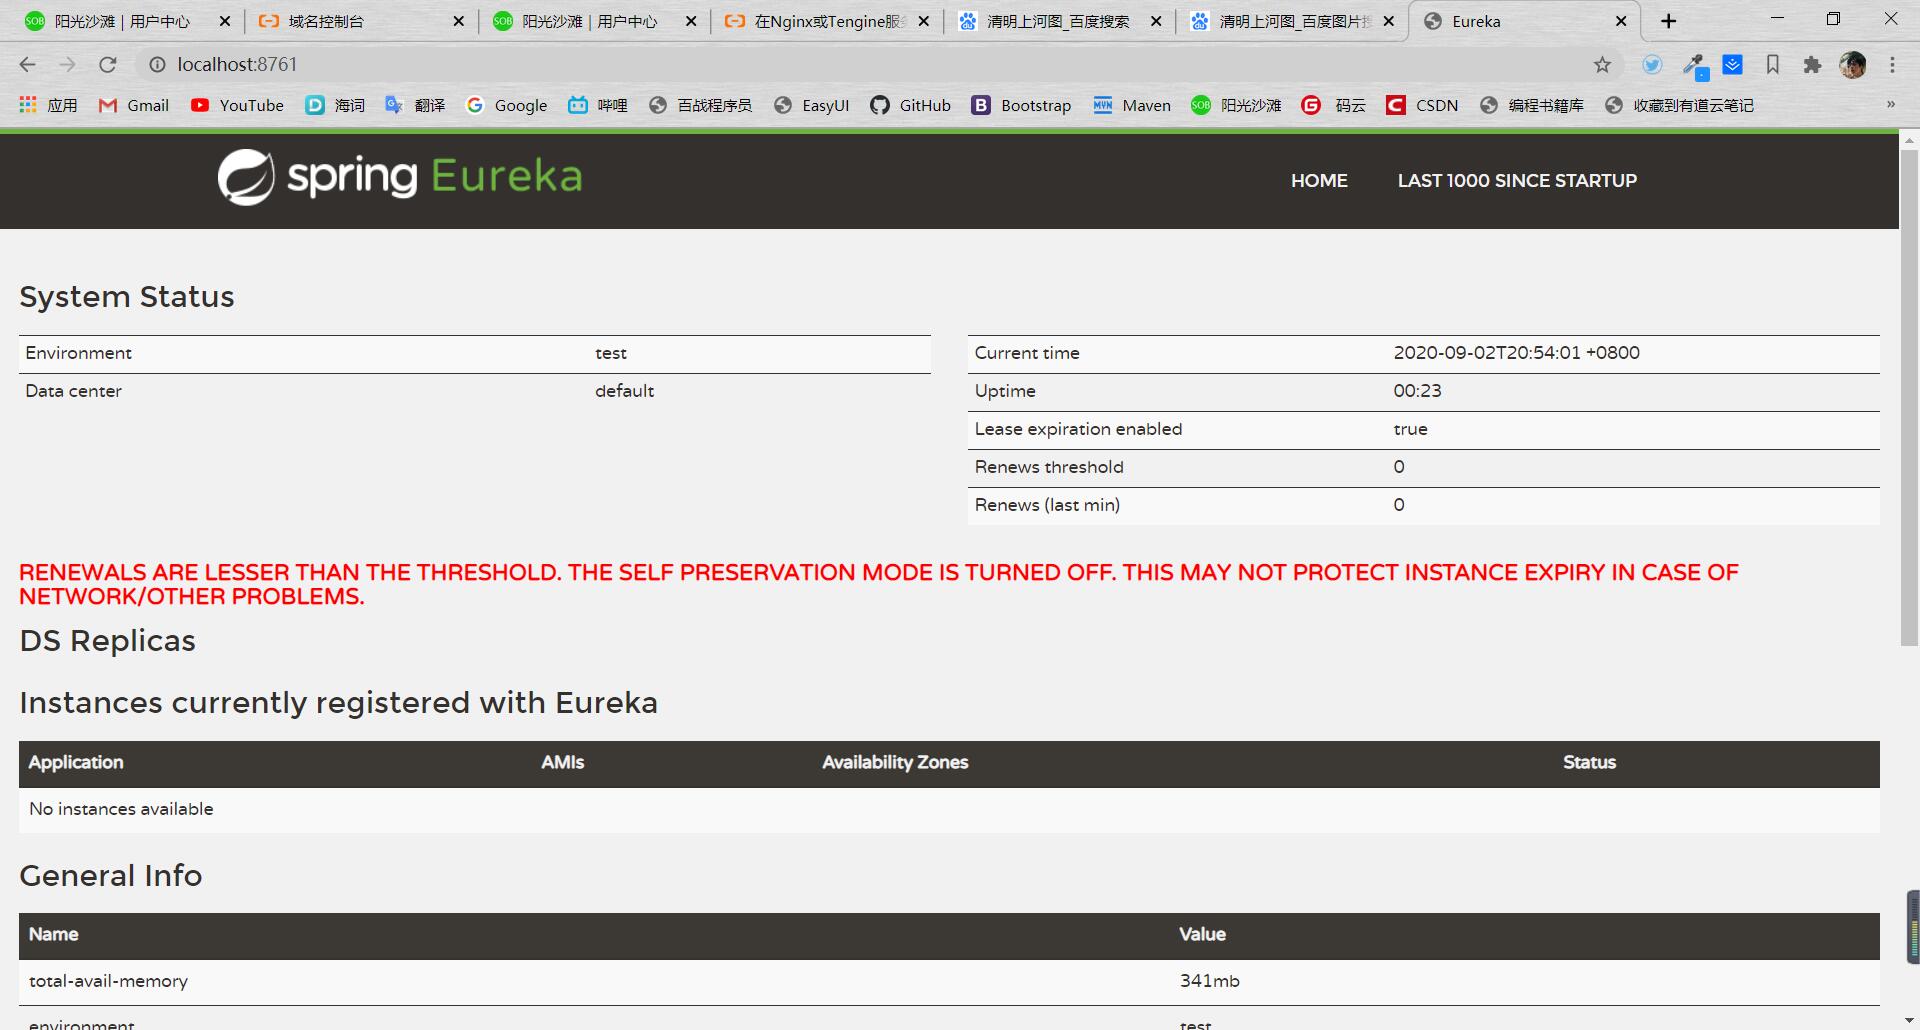
客户端
导入依赖
   <dependencies>
        <dependency>
            <groupId>org.springframework.boot</groupId>
            <artifactId>spring-boot-starter-web</artifactId>
        </dependency>
        <!--开发一个基于Eureka的微服务-->
        <dependency>
            <groupId>org.springframework.cloud</groupId>
            <artifactId>spring-cloud-starter-netflix-eureka-client</artifactId>
        </dependency>
    </dependencies>
创建启动类
/**
 * 低版本的Spring Cloud中,Eureka Client的启动类上需要增加注解
 *  @EnableEurekaClient
 *  代表当前的应用是基于Eureka注册中心的微服务 当前应用是Eureka的客户端
 *
 *  @EnableDiscoveryClient
 *  代表当前应用基于微服务注册中心,做服务的发现
 *  当前应用是一个需要做服务发现的客户端
 */
@SpringBootApplication
public class EurekaClientApplication {
    public static void main(String[] args) {
        SpringApplication.run(EurekaClientApplication.class, args);
    }
}
创建application.yml文件
server:
  port: 8081
spring:
  application:
    name: first-eureka-client
eureka:
  client:
    service-url:
      # 在Eureka Client中配置此属性,代表注册中心的地址是什么
      # 多个注册中心地址,使用 ","分隔
      # 默认值就是http://localhost:8761/eureka/
      defaultZone: http://localhost:8761/eureka/
启动EurekaClientApplication 类 启动完后可以再复制一个启动类并修改配置的端口就可以再启动一个,因为他们spring的名字相同,所以被配置成微服务的集群,如下图所示 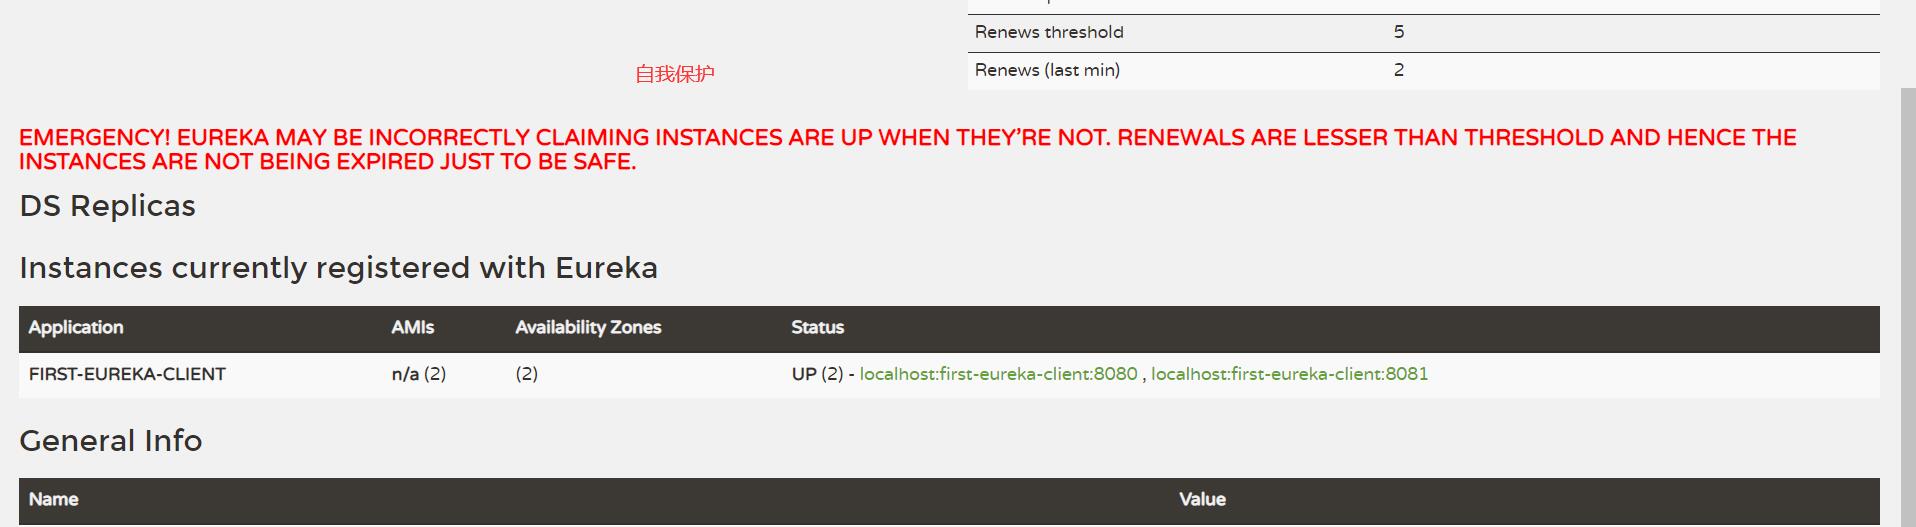
**自我保护机制:**自我保护,如果服务出现大面积(大面积指 85%有效,15%无效)的宕机、离线,会进行自我保护,认为这是网络波动,导致的无心跳,无反应。它进入自我保护机制会将数据存起来,因为它认为错误的数据比丢掉数据好 自我保护机制如果开启的时候,将两个客户端关闭以后,数据还会保留。 如果需要关闭需要在服务端的配置文件添加一段代码,并重新启动
  server:
    enable-self-preservation: false # 是否开启保护机制,默认true开启
    eviction-interval-timer-in-ms: 10000 # 删除无效服务信息间隔周期 单位毫秒 默认60秒
如果关闭成功,如下图所示 
本文由
loneliness
原创发布于
阳光沙滩
,未经作者授权,禁止转载